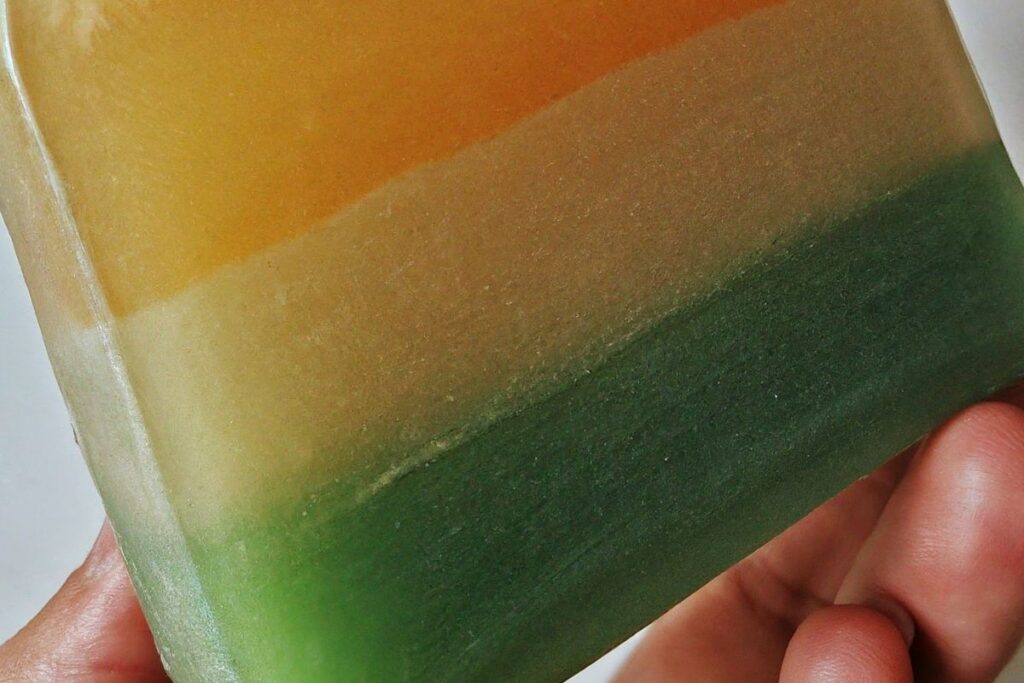
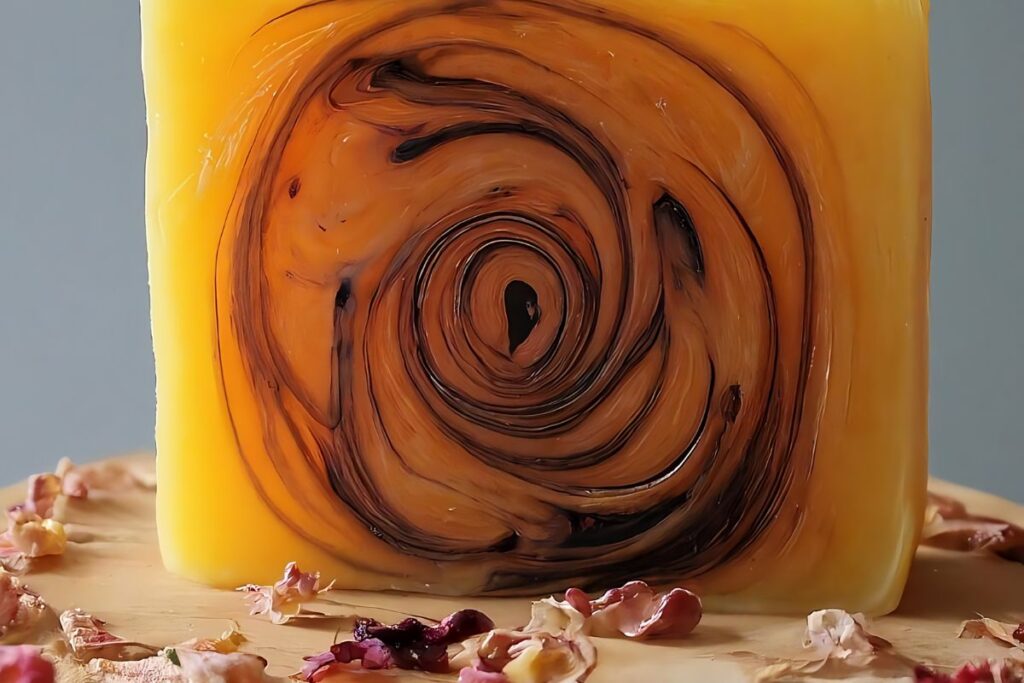
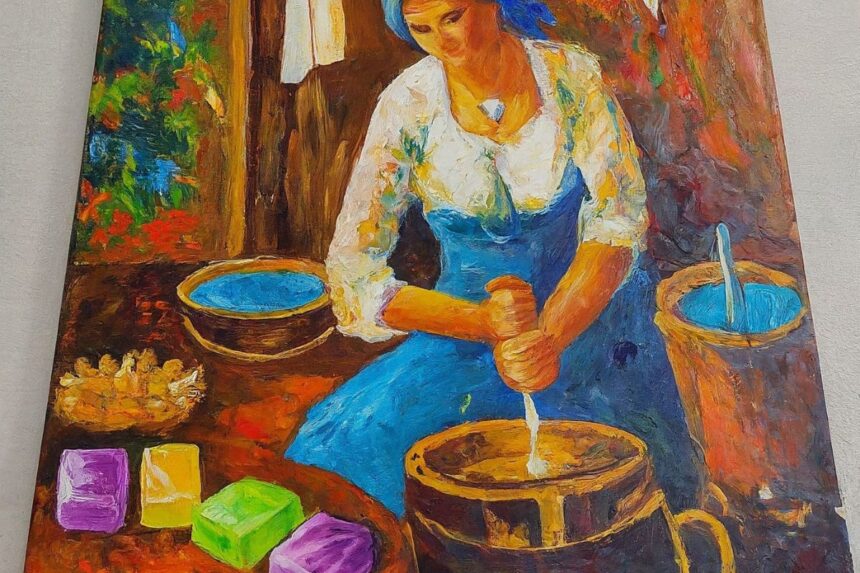
Whether you’re interested in artisanal craft or looking for a more natural alternative to store-bought products, learning how to make soap can be rewarding. Learn how to make soap at home with this comprehensive guide. Discover the steps, ingredients, and tips for crafting your own luxurious and skin-friendly soap. Making your own soap is not only a fun and creative hobby but also an excellent way to control what goes on your skin and into the environment. This guide will walk you through everything you need to know to get started on your soap making journey.
The Basics of Soap Making
What is soap?
Soap is a cleansing agent created by the chemical reaction between a fatty acid and an alkali metal base, typically lye. This process is known as saponification. The end product, soap, is safe and gentle for use once it has cured, despite the use of harsh chemicals in its production.
Historical context of soap making
The art of soap making dates back to ancient civilizations, with the first recorded evidence of soap-like substances traced back to Babylon around 2800 B.C. Originally, soap was made from animal fats and plant ashes and was primarily used for cleaning textiles and medicinal purposes. Over centuries, the process evolved, leading to the diverse range of soap making methods and products available today.
Essential Ingredients in Soap Making
To start your soap making process, you’ll need to gather a few key ingredients. These are the backbone of any soap recipe:
- Fats and oils: These can vary widely, from olive oil and coconut oil to shea butter and cocoa butter, each bringing different properties to the final product.
- Lye (Sodium hydroxide): Necessary for saponification, lye is what transforms oils and fats into soap. Handling lye requires careful attention to safety.
- Water: Used to dissolve the lye before it is mixed with the oils.
What are the 3 main ingredients in soap?
At its core, the basic soap recipe consists of oils or fats, lye, and water. Each ingredient plays a crucial role in the soap making process, ensuring that the final product cleans effectively while being kind to the skin.

Tools and Safety Equipment Needed
Before you begin to make soap, it’s essential to have the right tools and safety gear on hand. Here’s what you’ll need:
- Safety goggles and gloves: To protect your eyes and hands from lye.
- Mixing bowls: Preferably glass or stainless steel, as lye can react with certain metals.
- Thermometer: To check the temperature of your lye solution and oils.
- Blender or whisk: For mixing your soap until it reaches “trace,” the point at which it’s adequately mixed.
- Molds: To shape your soap as it sets and cures.
Safety should always be your top priority when learning how to make soap, especially when handling lye. Ensure that you work in a well-ventilated area and keep vinegar handy to neutralize any spills.
Step-by-Step Guide to Making Soap
How to make soap step by step?
Making soap at home can be extremely rewarding. Here’s a basic guide to the cold process method, which is popular among crafters for the level of customization it offers:
- Prepare Your Workspace and Ingredients: Gather all ingredients and equipment. Make sure your workspace is clean, organized, and well-ventilated.
- Safety First: Put on your gloves and goggles. Always add lye to water (never water to lye), and stir carefully to avoid splashes.
- Mix Lye and Water: In a heat-resistant container, slowly add lye to cold water and stir until dissolved. This mixture will heat up quickly, so handle it with care.
- Heat Your Oils: While the lye solution cools, gently heat your oils in a large pot until they are approximately the same temperature as the lye solution (around 100°F to 110°F).
- Blend to Trace: Pour the lye solution into the oils. Using a stick blender, mix until the batter reaches a light trace—a consistency similar to thin pudding. This indicates that saponification is beginning.
- Add Extras: Once trace is achieved, add any fragrances, colors, or additives. Mix thoroughly to distribute evenly.
- Pour into Molds: Pour the soap mixture into molds. Tap the molds on the counter to release any air bubbles.
- Insulate and Cure: Cover the molds with plastic wrap and wrap them in towels to keep the heat in. After 24 hours, unmold your soap and cut it into bars. Cure the bars on a rack in a ventilated area for 4-6 weeks to allow them to harden and for the saponification process to complete.
Different Methods of Soap Making
Aside from the cold process, there are other methods to explore:
- Hot Process Soap Making: Similar to cold process, but the soap is actually cooked in a pot or slow cooker, which speeds up the saponification process. Soap made this way can be used right away, but it often has a rougher texture.
- Melt and Pour Soap Making: A simple method using pre-made soap bases that are melted, customized with colors and scents, and then poured into molds. This method is safe and easy, especially good for beginners or as a fun activity with children.
Customizing Your Soap
Making your own soap allows for endless creativity. Here are some ways you can make each batch unique:
- Fragrances and Essential Oils: Add your favorite scents to personalize your soap. Essential oils are a natural option, while fragrance oils offer more variety.
- Colors and Textures: Use natural colorants like clays and botanicals or soap-safe dyes and pigments. Add texture with additives like oatmeal, poppy seeds, or dried herbs.
- Shapes and Sizes: Use different molds to create unique shapes and sizes, from simple bars to intricate designs suited for gifts or special occasions.

What makes a luxury soap?
Luxury soaps are characterized by their superior ingredients, unique formulations, and often include elements like exotic butters, high-end oils, and specialized additives that are beneficial for the skin. The attention to detail in the packaging can also elevate a simple bar of soap to a luxury product.
Troubleshooting Common Soap Making Issues
Even with careful planning and execution, soap makers can encounter a few common issues. Here are some tips to help you solve them:
- Soap Doesn’t Set: If your soap hasn’t set properly, it could be due to incorrect measurements of lye or oils, or not enough mixing to reach true trace. Double-check your recipe and make sure to mix thoroughly.
- Too Much Lye: This can make the soap too harsh and can burn the skin. Always measure your lye precisely and consider using a lye calculator to confirm the correct amounts.
- Partial Gel Phase: This creates an uneven appearance in soap bars. To avoid this, ensure even insulation or opt to prevent gel phase by placing the soap in the fridge.
Is lye in soap safe?
Yes, when used correctly, lye is safe in soap making. The saponification process transforms lye and oils into soap and glycerin, leaving no trace of lye in the finished product. However, handling lye requires strict safety measures, including wearing protective gear and working in a well-ventilated area.
The Business of Soap Making
Is making soap easy?
While making soap at home requires careful attention to detail and safety, the process itself can be straightforward once you understand the basics. Many soap makers start as hobbyists and gradually turn their craft into a business.
Is homemade soap profitable?
Yes, homemade soap can be a profitable business. With the growing demand for natural and artisanal products, well-crafted homemade soaps can be sold at farmers’ markets, online, or through local boutiques. Success in soap making business depends on quality, uniqueness, and effective marketing.
Why is handmade soap so expensive?
Handmade soap often costs more than commercial soap due to the quality of ingredients, the time-intensive processes involved, and the artisanal aspect of each batch. Natural ingredients and customized designs also contribute to the higher price.
Benefits and Drawbacks of Homemade Soap
Is handmade soap good for skin?
Absolutely! Handmade soap often contains natural ingredients that are gentler on the skin compared to the harsh chemicals found in many commercial soaps. They also retain natural glycerin, which is moisturizing and beneficial for the skin.
What are the disadvantages of homemade soap?
- Time-Consuming: Making soap can take a lot of time, especially considering the curing process.
- Initial Cost: The upfront cost for quality ingredients and equipment can be high.
- Shelf Life: Natural soaps typically have a shorter shelf life than commercial ones due to the absence of preservatives.
Is homemade soap safe to use?
Yes, when made correctly, homemade soap is safe to use. The key is following the recipe and safety guidelines, especially concerning the accurate handling of lye.
Making Eco-Friendly and Vegan Soaps
For those interested in sustainability and ethical products, making vegan and eco-friendly soap is a rewarding path. Use plant-based oils and fats, natural colorants, and essential oils to create soaps that are kind to the environment and free from animal products.
How long does handmade soap last?
Typically, handmade soap can last anywhere from several weeks to several months. To extend its shelf life, keep it dry between uses and store it in a cool, dry place.
FAQ
Can I make my own soap?
Absolutely! Anyone can make their own soap with the right ingredients, tools, and a bit of patience. It’s a fun and rewarding hobby that allows you to create customized products suited to your preferences and needs.
What is the easiest homemade soap to make?
The easiest homemade soap to make is melt and pour soap. This method involves using a pre-made soap base that you melt, customize with colors, fragrances, and other additives, then pour into molds. It’s safe, simple, and doesn’t require handling lye.
Is homemade soap expensive?
The cost of making homemade soap can vary. Initially, purchasing supplies might seem costly, but over time, making your own soap can be more economical than buying commercial, artisanal soap products.
How long should handmade soap last?
With proper storage, handmade soap can last as long as commercially made soap. Keep it in a dry place away from direct sunlight and moisture to extend its shelf life.
Can you make soap without lye?
No, true soap requires lye to undergo the saponification process. However, the melt and pour method allows you to make soap without directly handling lye since the saponification process has already been completed in the pre-made bases.
How to make soap step by step?
Refer to the “Step-by-Step Guide to Making Soap” section above, which outlines the entire process of making soap using the cold process method, from gathering materials to curing the finished bars.
Is homemade soap profitable?
Yes, selling homemade soap can be profitable, especially if you target the right market. Artisanal, natural, and customized soaps are in high demand among consumers looking for eco-friendly and skin-friendly alternatives.
Is homemade soap safe to use?
Yes, homemade soap is safe to use if made correctly. Ensuring accurate measurements and proper handling of ingredients like lye is essential for safety and quality.
Why is handmade soap so expensive?
Handmade soap often involves high-quality, natural ingredients and requires significant time and effort to produce. The small-scale production and unique customization also contribute to the cost.
What are the disadvantages of homemade soap?
The main disadvantages include the initial learning curve, the need for proper storage to extend shelf life, and the potential for skin irritation if not formulated correctly.
Is handmade soap good for skin?
Handmade soap can be much better for your skin than commercial options, as it’s typically more moisturizing, free from harsh chemicals, and can be tailored to suit specific skin conditions or preferences.
What makes a luxury soap?
Luxury soaps are distinguished by their exotic ingredients, unique formulations, superior craftsmanship, and often elaborate packaging. They may include ingredients like gold leaf, silk proteins, or rare oils.
How long does handmade soap last?
Handmade soap, if kept dry, can last a long time without losing its effectiveness, though it may eventually become less fragrant or change in texture.
What can replace lye in soap?
There is no substitute for lye in the saponification process; however, glycerin soap bases used in melt and pour methods do not require the soap maker to handle lye directly.
Is lye in soap safe?
Yes, once saponified and properly cured, the lye is completely neutralized in the soap making process, making the finished product safe to use.
What is the formula for soap?
The basic formula for soap involves a mixture of fats or oils with lye (sodium hydroxide for solid soaps, potassium hydroxide for liquid soaps) and water.

Why Trust Us
When choosing a guide for learning new skills like soap making, it’s crucial to trust a reliable source that combines expertise with practical, user-friendly advice. Our guidance is crafted from thorough research and enriched with insights from experienced artisans, ensuring that every piece of information is accurate and actionable. We pride ourselves on transparency and commitment to quality, offering step-by-step instructions that simplify complex processes. This makes our guide an ideal resource for both beginners and seasoned crafters alike. By trusting us, you gain not only knowledge but also the confidence to explore creative endeavors safely and successfully.
Summary
In conclusion, mastering the art of soap making is a rewarding journey that blends creativity with practical skills. This comprehensive guide has provided you with the essential knowledge, from understanding the basic ingredients and necessary equipment to exploring various soap making methods and troubleshooting common issues. Whether you’re crafting soap as a soothing hobby or aspiring to start your own soap making business, the possibilities are endless. Remember, the key to success in soap making lies in patience, precision, and passion for creating something uniquely yours. Embrace the process, experiment with different ingredients and techniques, and enjoy the satisfaction of using or gifting your handmade soap. Happy soap making!


